0. 前言
Stable Diffusion 在圖像生成領域長期展現卓越的成績,甚至引起繪畫市場的洗板與恐慌,如今已然到第三代。那如果只是基礎功能的使用,實際上不用費工的安裝 Web UI 並透過 API 進行呼叫。
在本篇文章我們將探討在不安裝 AUTOMATIC1111 的 Web UI 的情況下,如何在專案中直接使用。
1. 重點
2. 內容
2.1. 準備環境
各位可以回顧【PyTorch 環境安裝】事前在 venv 中安裝所需之環境。
由於 SD2 與 SD3 擁有極大的 GPU 要求,範例這邊採用基礎的 SDXL 1.0,從官方的範例稍作修改增加更多的調整項目。
from diffusers import AutoPipelineForText2Image
import torch

pipeline_text2image = AutoPipelineForText2Image.from_pretrained(
    "stabilityai/stable-diffusion-xl-base-1.0",
    torch_dtype=torch.float16,
    variant="fp16",
    use_safetensors=True,
).to("cuda")

# The positive prompt
pos_prompt = "Futuristic city skyline with flying cars, cutting-edge AI technology, holographic interfaces, sleek designs, vibrant and glowing, 8k, highly detailed"
# The negative prompt
neg_prompt = "dystopian, dark, old technology, broken machines, messy environment"

# The number of denoising steps
num_inference_steps = 20
#
guidance_scale = 7.0
# The size of the result
width = 768
height = 768
# The number of images generated
num_images_per_prompt = 1


image = pipeline_text2image(
    prompt=pos_prompt,
    negative_prompt=neg_prompt,
    guidance_scale=guidance_scale,
    width=width,
    height=height,
    num_inference_steps=num_inference_steps,
    num_images_per_prompt=num_images_per_prompt,
).images[0]

image.save("result.png")
此時我們需要另外安裝 diffusers 套件,在專案 Terminal 內輸入以下指令進行安裝 or 更新。
pip install -U diffusers2.2. 嘗試生圖
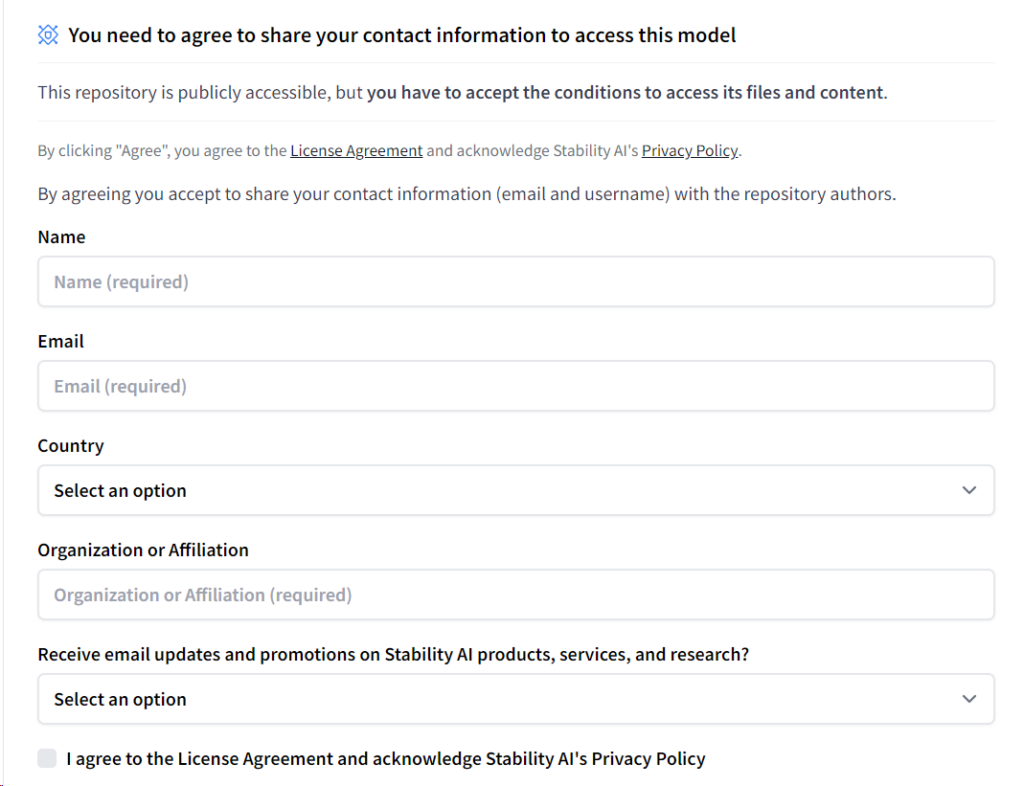
在 HuggingFace 下載模型前,由於該模型屬於受管控的,我們必須填寫頂層的表單後才擁有權限使用。

在 CLU 有登入 HuggingFace 的情況下,複製剛才頁面上的程式實際跑一次,便會開始下載模型。設備偏弱的讀者可以另外調整圖片的寬高,減少系統的負擔,不過記得 SDXL 在 768 到 1024 pixels 的範圍效果較佳。
當完成後就能看看最終成效如何囉!

3. 後話
事實上 SDXL 還是多數用戶使用的模型,不僅僅在於設備的限制,同時也歸咎於【Civitai】過往累積的大量偏旁模型可以進行調整。
但總歸來說最基礎的引入就足以包辦許多的業務,雖然許多網頁提供免費生圖,但在開發層面則可以省下許多呼叫的生成費用。
4. 參考
[1] SDXL 1.0 — Official Docs on HuggingFace
https://huggingface.co/docs/diffusers/using-diffusers/sdxl
Leave a Reply